- Fork this repository to your GitHub account.
- Clone your forked repository to your local development environment.
-
Head to the Workers and Pages
hello and press theCreatebutton.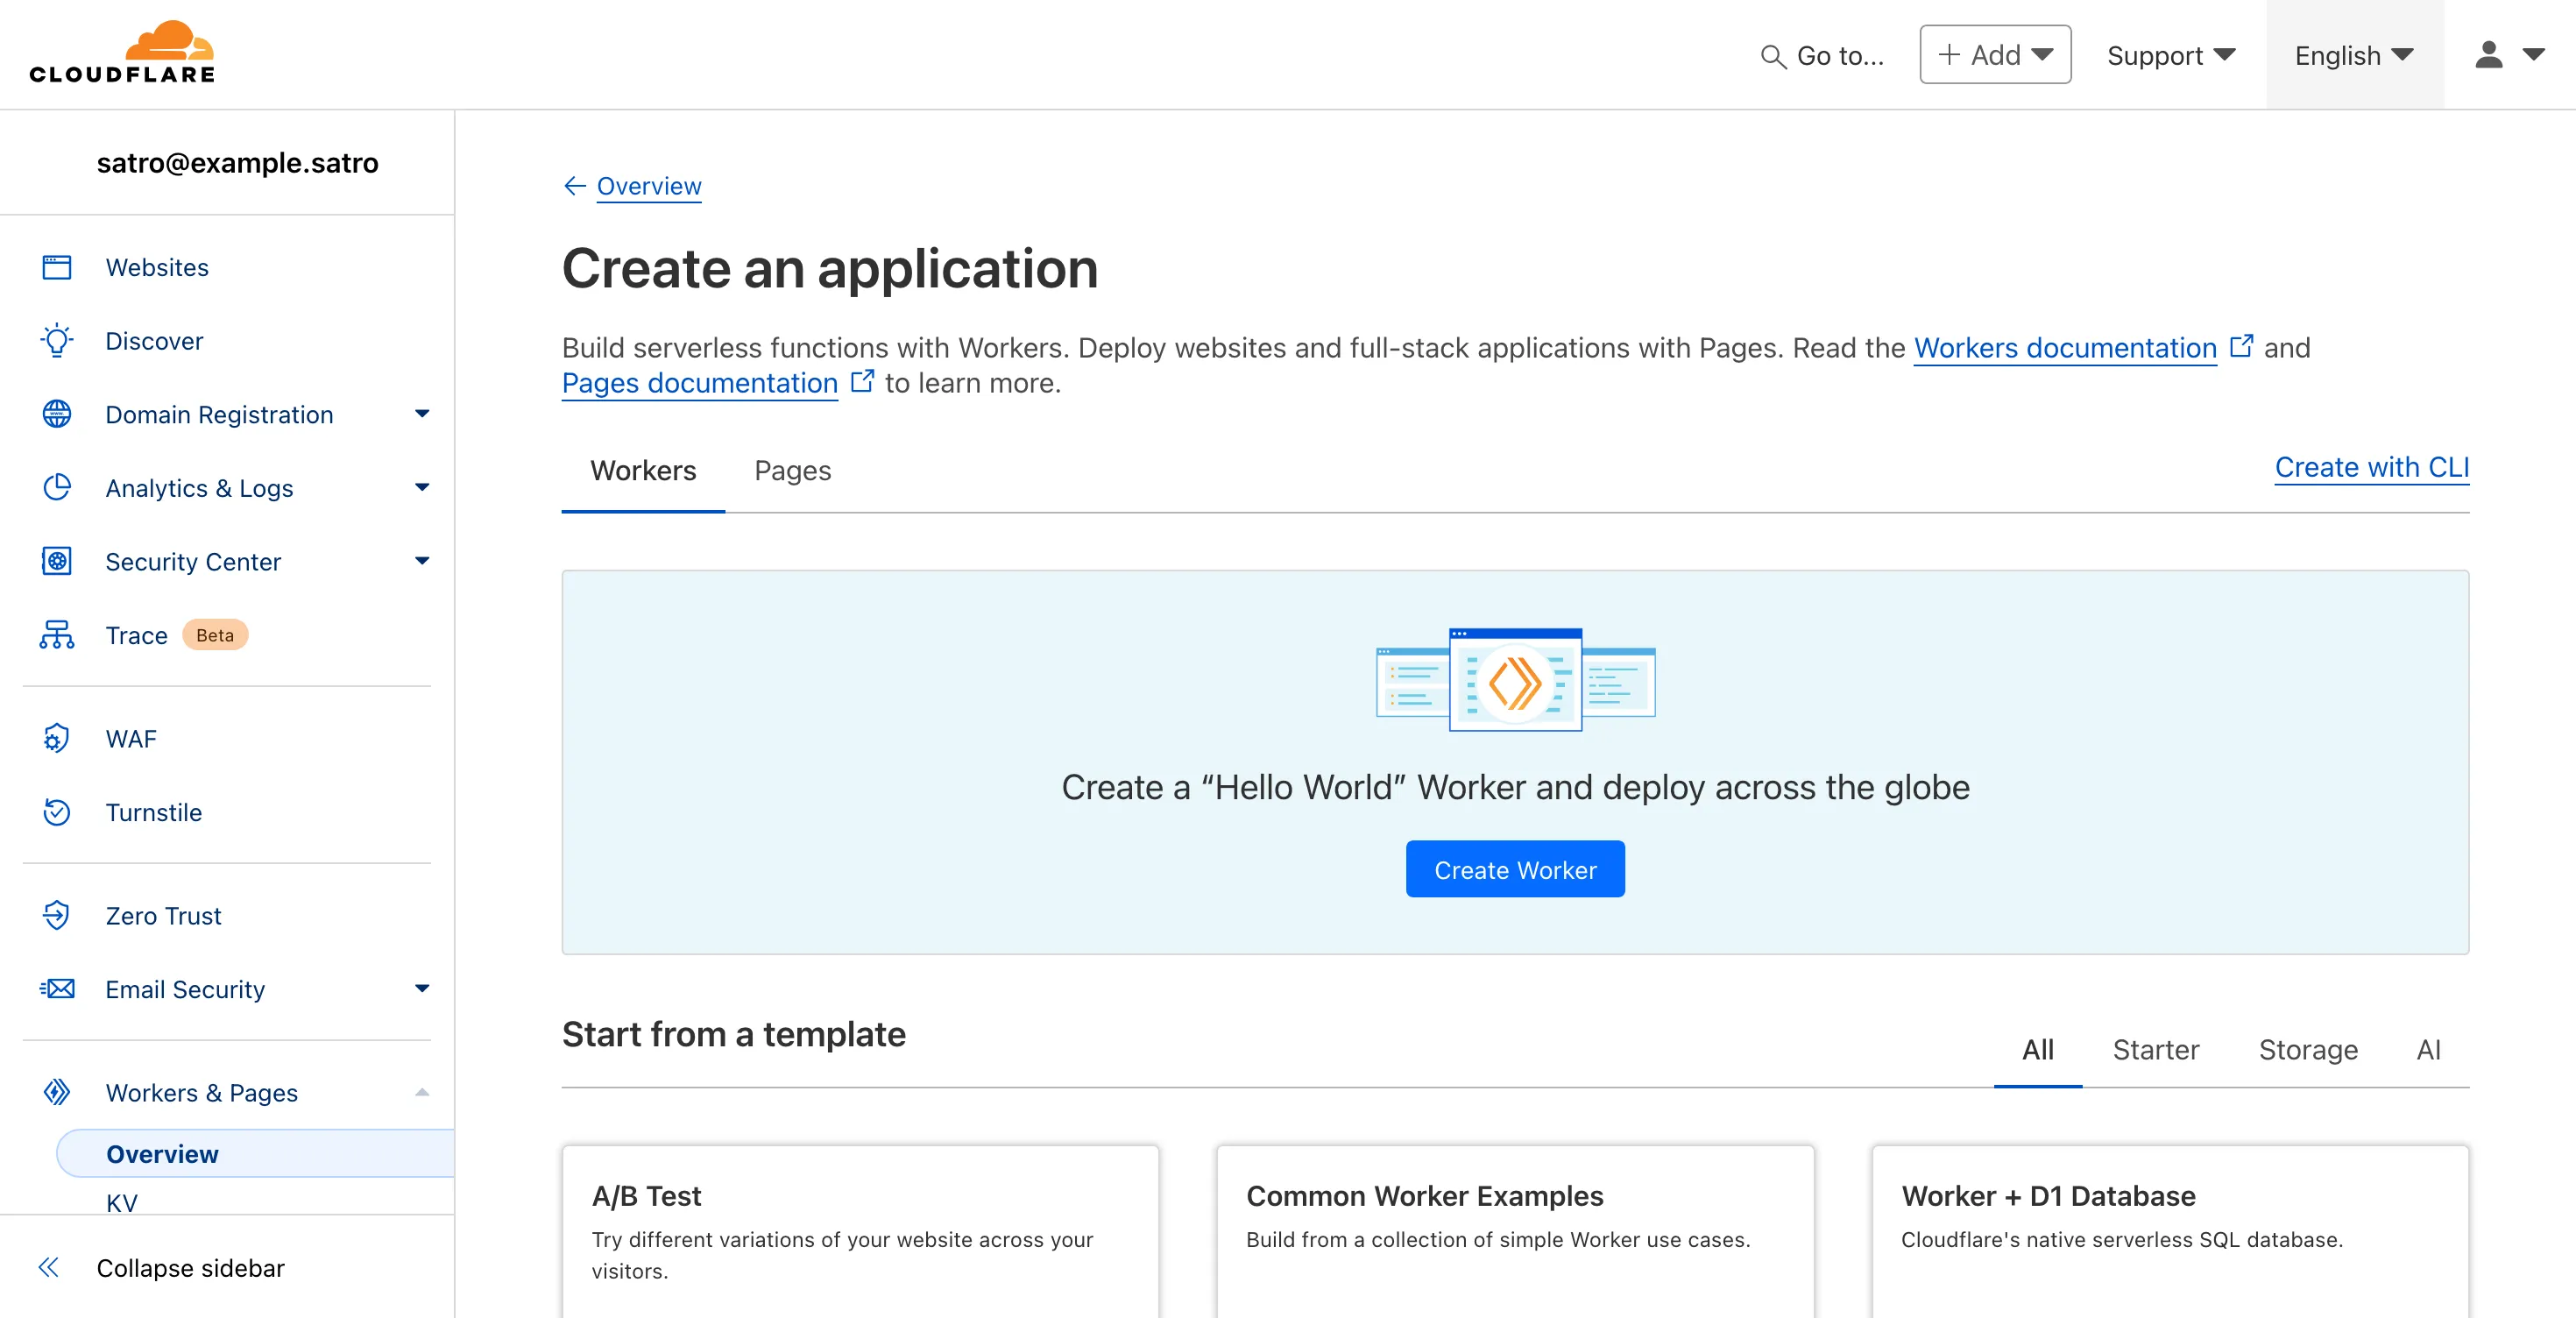
-
Choose the
Pagesand press theUpload assetsbutton.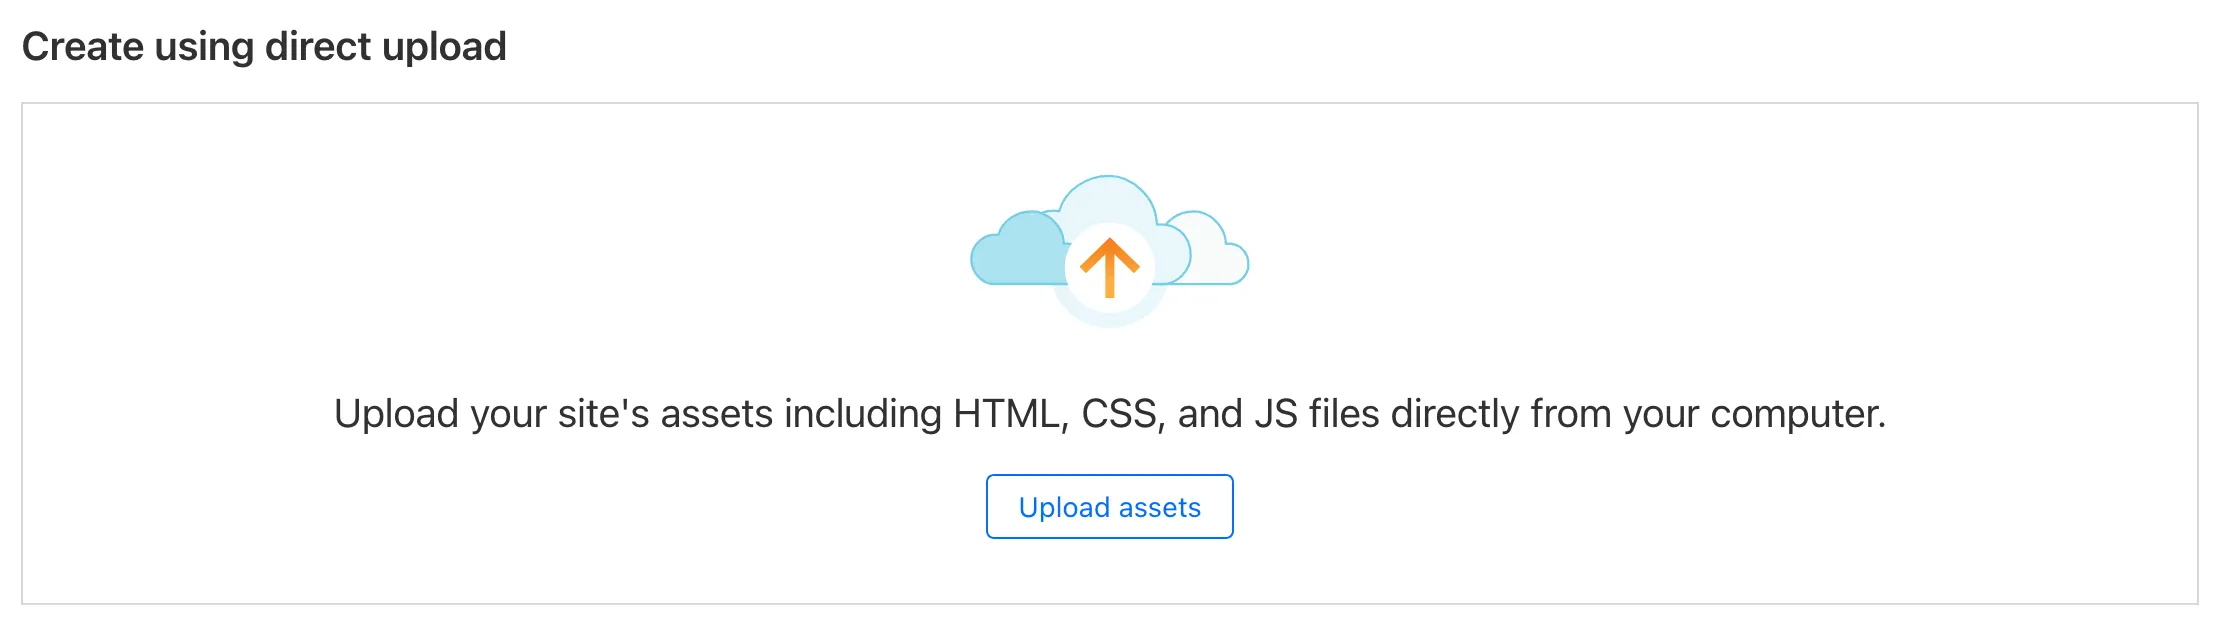
-
Name your project and press the
Create projectbutton.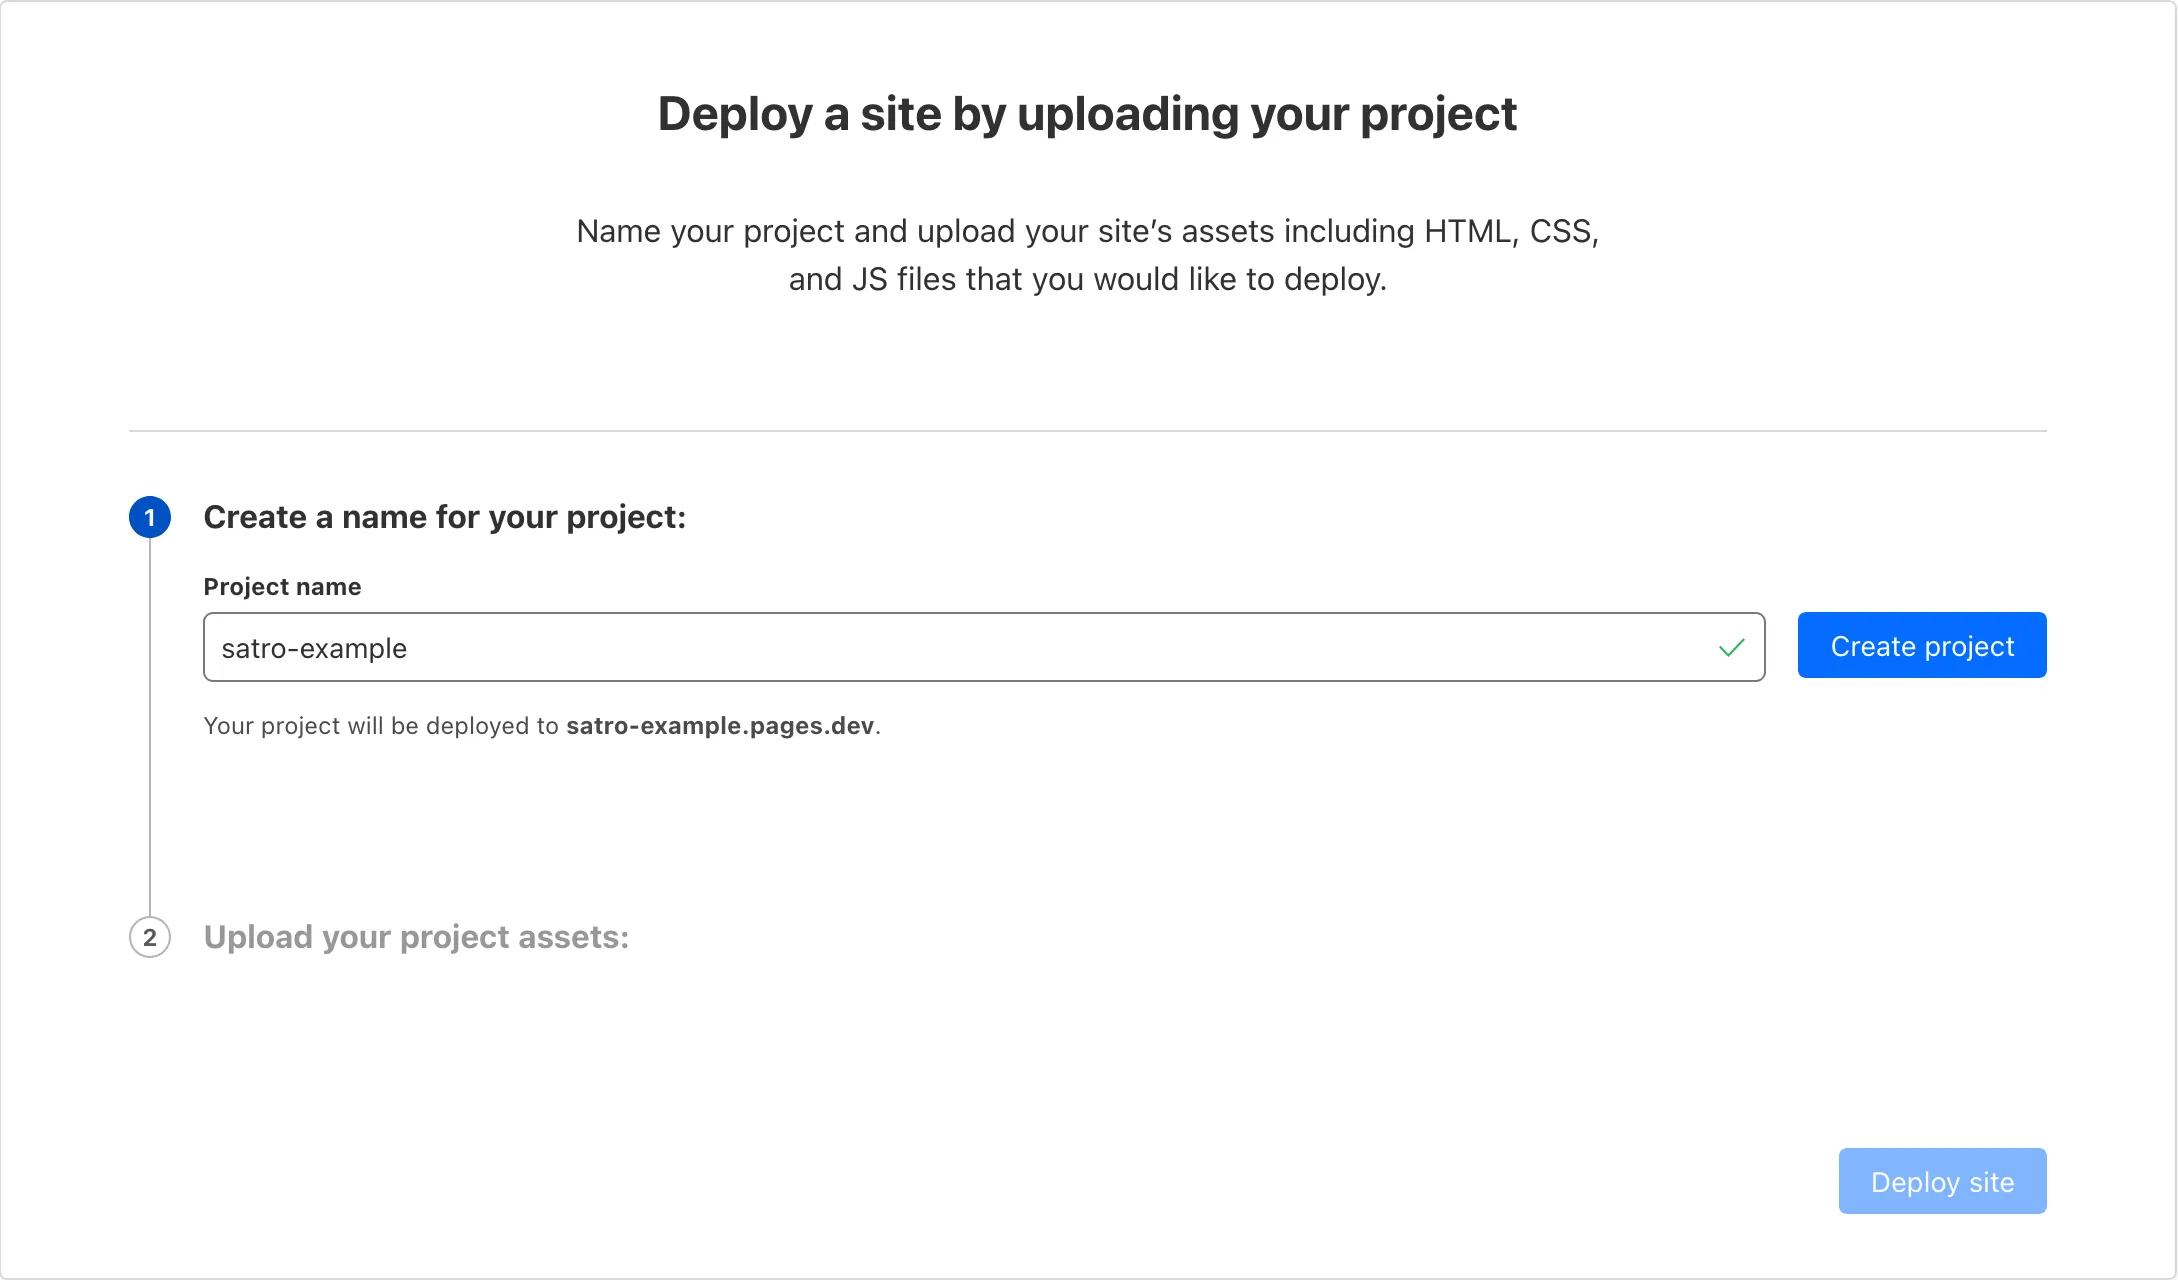 Note: You don’t need to upload any assets here, just create the project.
- Head back to the Workers and Pages Overview
hello . You can find your account ID on theAccount detailssection.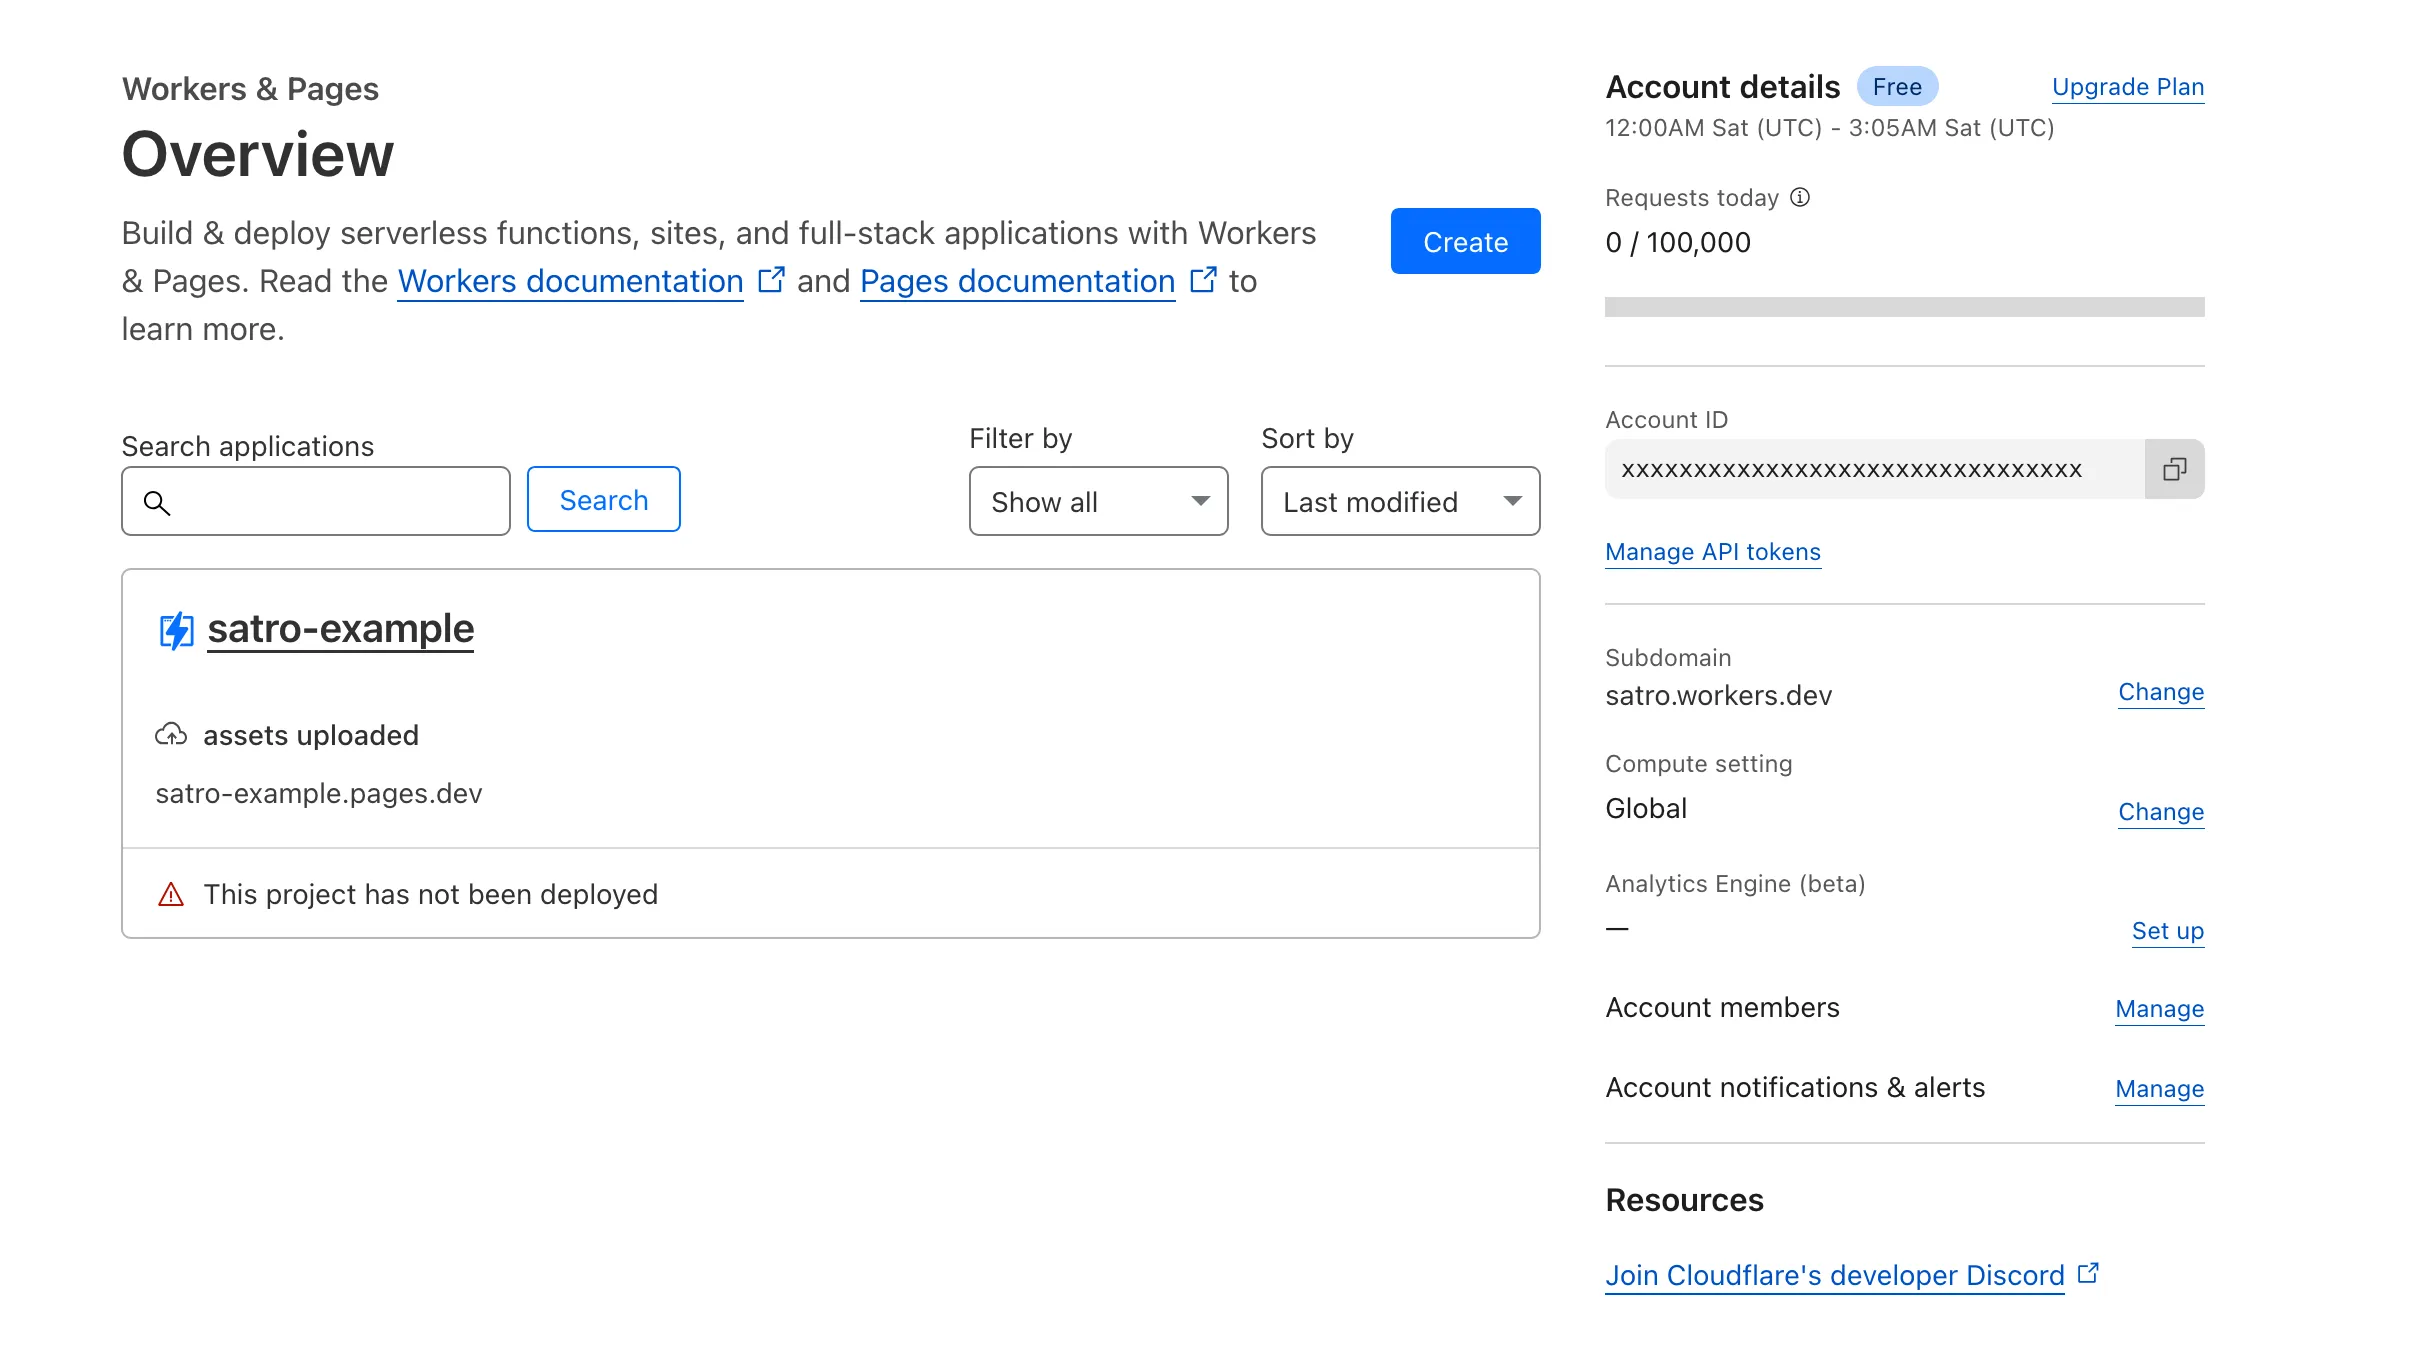
-
And then click on the
Manage API Tokensbelow theAccount ID. Then click on theCreate Tokenbutton. -
If you don’t want to overthink about the permissions, you can simply choose the
Edit Cloudflare Workerstemplate. -
And do this if you don’t want to overthink about it also, it’s must be fine. Then press the
Continue to summary>Create Tokenbutton.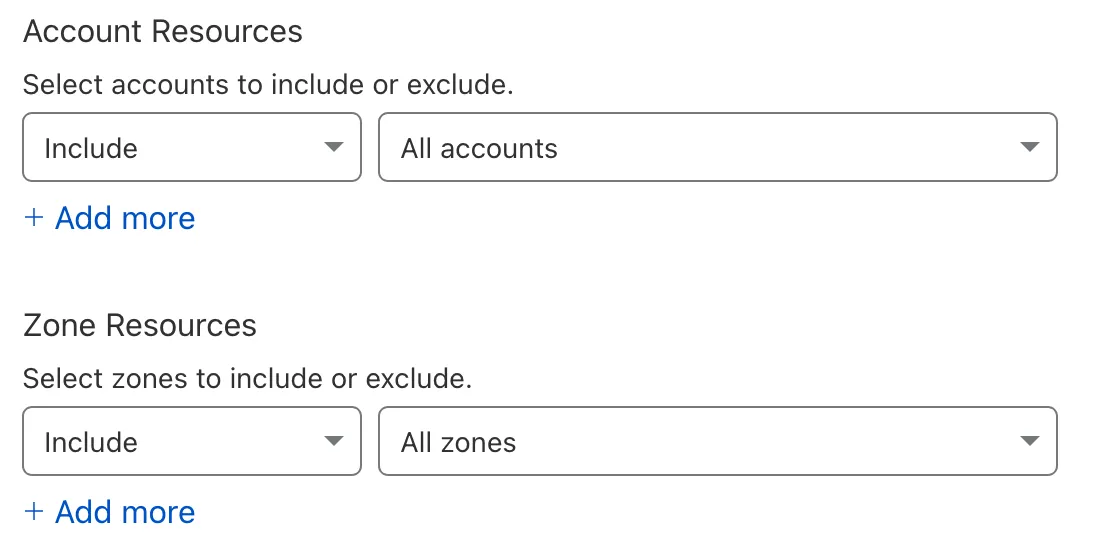
-
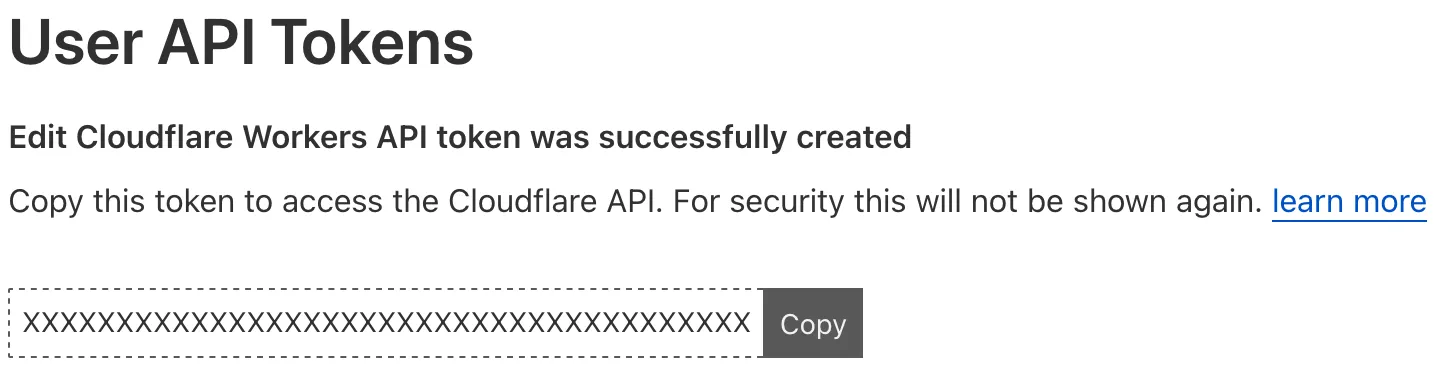
You can see your API token in this moment.
-
Head to the
Settingstab of your forked repository and click on theSecurity>Secrets and variables>Actions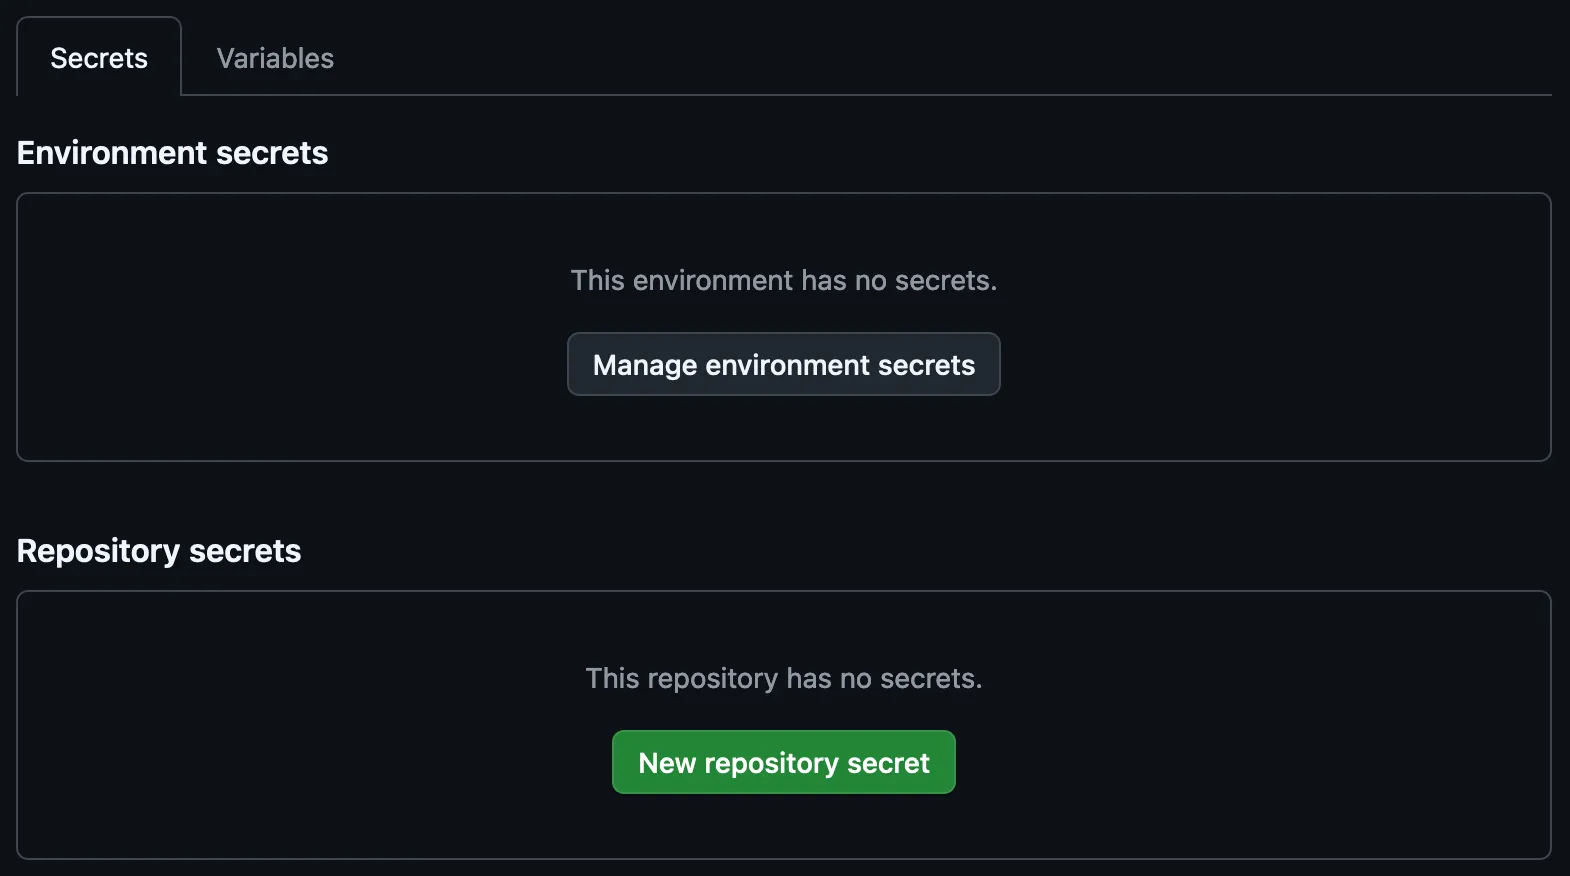
-
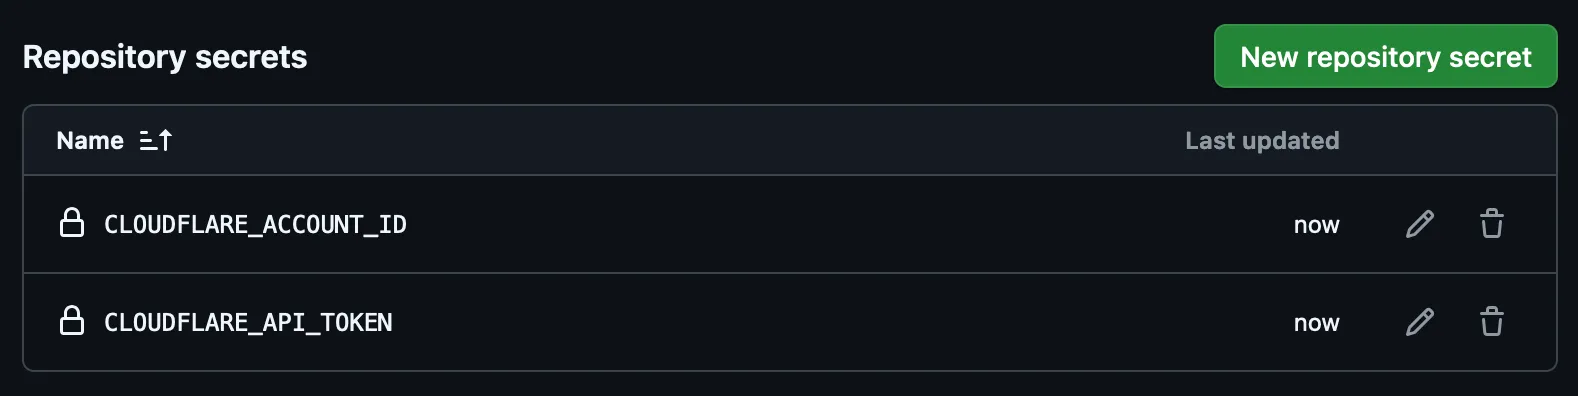
Add the following secrets by clicking on the
New repository secretbutton.CLOUDFLARE_ACCOUNT_ID: The Cloudflare account ID you’ve found.CLOUDFLARE_API_TOKEN: The Cloudflare API token you’ve created.
-
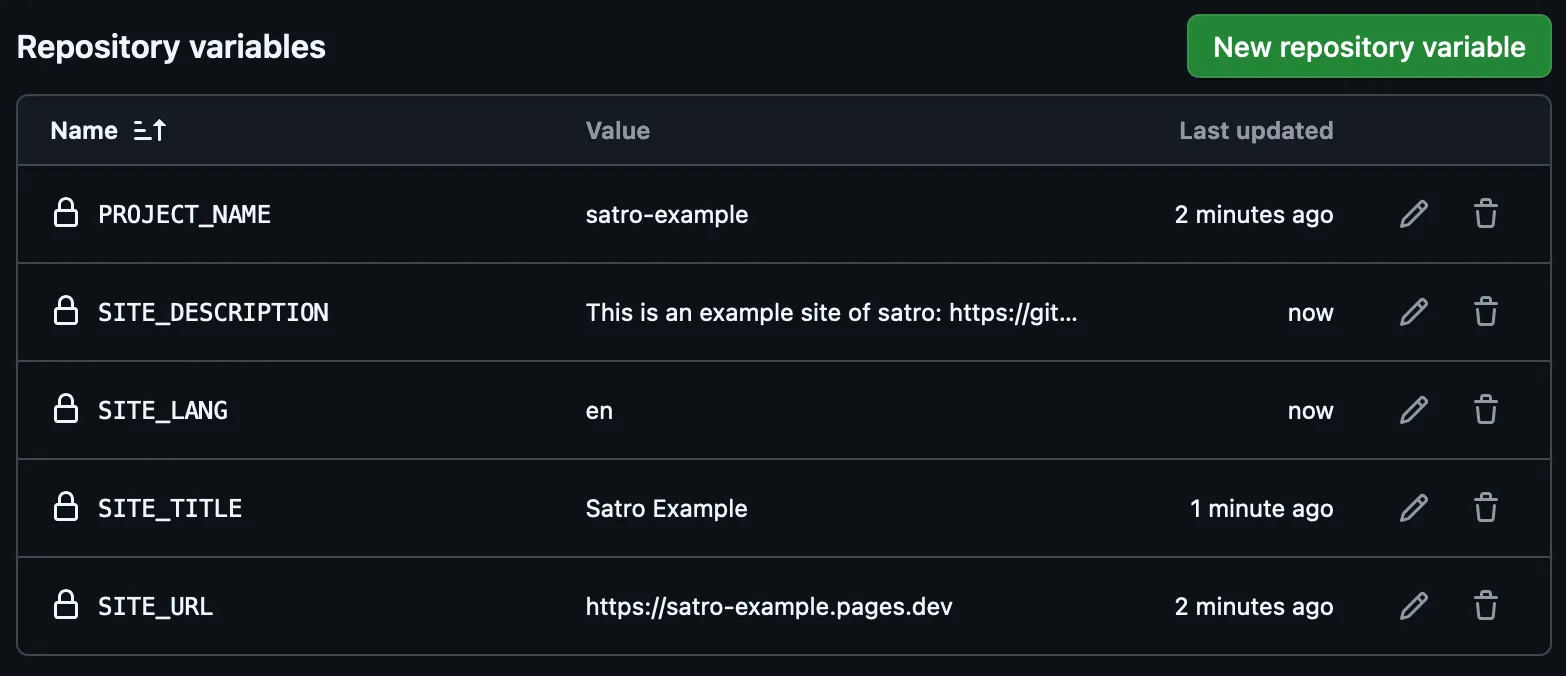
Add the following variables by clicking on the
New repository variablebutton in theVariablestab.PROJECT_NAME: The name of your Cloudflare project.SITE_URL: The URL of your site. (if you have a custom domain, you can use it, otherwise you can use the one that Cloudflare provides you.)SITE_TITLE: The title of your site.SITE_DESCRIPTION: The description of your site.SITE_LANG: The language of your site. (e.g.en,zh-TW)